Are Deadlifts Causing Pain? Try These 3 Exercises Instead
Reap the many benefits of this functional movement without stressing your lower back.

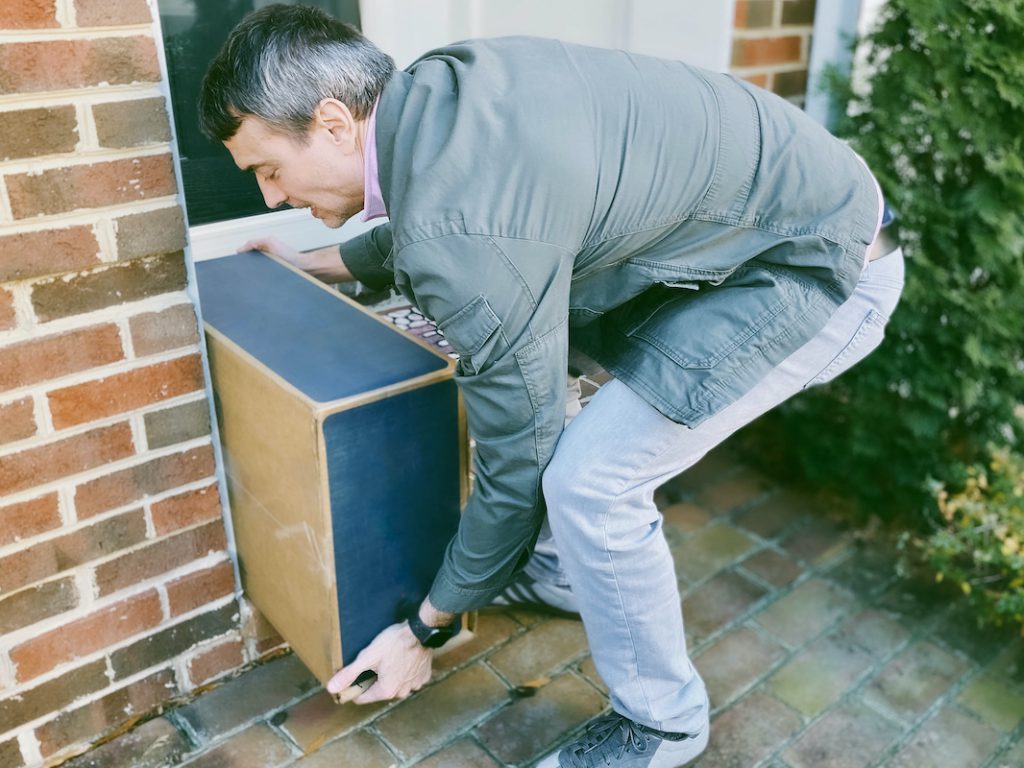
Deadlifts are known to be one of the best functional strength exercises you can do. Think about it: The movement involves lifting something heavy, usually a barbell or a pair of dumbbells, straight off the floor. Imagine that the weight is your grandchild, for instance, or a package on your front porch, and it’s easy to see how the exercise directly translates to real life.
The only problem: If done incorrectly, deadlifts are also known to cause or worsen lower-back pain. That usually happens for one of three reasons, explains Pete McCall, C.S.C.S., a certified personal trainer and author of Smarter Workouts.
- You lack mobility in your hips.
- Your glute muscles aren’t (yet) strong enough to keep your lower back in a safe position during weighted deadlifts.
- Your form is off. It may be caused by a lack of strength or mobility, as mentioned above, or it may simply be because you’re new to strength training and haven’t mastered the movement yet.
Deadlifts may look simple, but they require a lot of strength, mobility, coordination, and precision to perform correctly. That’s why if you’re new to strength training, or have back or hip problems, or feel any discomfort when performing deadlifts, it’s a good idea to switch it up and do an alternative exercise.
The three movements below offer many of the same benefits as deadlifts without using any weights. In other words, they can help you master the hip hinge movement and build the foundational strength and mobility you need to eventually perform full deadlifts safely and without pain.
And that’s a very worthwhile goal. In addition to giving you the strength to pick things up off the ground more easily, deadlifts can help relieve lower-back pain in those with chronic issues, according to research in The Journal of Strength and Conditioning Research. The key is that you must be able to do them correctly.
How to Use These Exercises
You have two options:
- Pick one exercise to swap in for deadlifts whenever a workout or group fitness class calls for them.
- Do all three exercises in order as a mini workout. For the best results, do the three-move routine three days per week. You can tack it on at the end of your existing workout or do it on its own, if you’re short on time.
As always, safety is key. The exercises here may be different or more advanced than those you’ll experience in a SilverSneakers class. If you have a chronic condition or an injury, talk to your doctor about how you can exercise safely.
Exercise #1: Hip Tap
This bodyweight exercise strengthens your core, glutes, and hamstrings, while training your body to hinge at the hips, as it does during deadlifts. Aim to feel a gentle stretch in your hamstrings (the backs of your legs) on the way down. If you feel any pain, you’ve gone too far.
Do 2 sets of 8 to 10 reps
Stand with your back a few inches away from a wall or chair, with feet hip-width apart and arms at your sides. Engage your core.
Keeping your core braced and your back flat (don’t arch your lower back), allow your knees to bend slightly as you push your hips behind you until they tap the wall or chair. Pause, then push through your heels to reverse the motion and stand up, feeling your glutes squeeze at the top. That’s one rep. Do two sets of 8 to 10 reps, resting 30 to 60 seconds in between sets.
If needed, extend your arms out in front of you to provide a counterbalance as you lower.
Make it harder: Set up with your feet farther from the wall. Progress as far as you can while still reaching your hips to the wall or chair.
SilverSneakers Enerchi is another great way to help prevent and ease back pain. It’s offered both in-person at participating SilverSneakers fitness locations, or online with SilverSneakers LIVE.
Exercise #2: Hands to Knees
A progression of the hip tap, this move involves lowering your hands down your thighs to your knees and back up. This positioning helps engage your upper back and shoulders a bit more. To really get your upper body involved, check out the “make it harder” tip below.
Do 2 sets of 8 to 10 reps
Stand tall with your feet hip-width apart and arms straight down against the front of your thighs. Brace your core.
Keeping your back flat (don’t arch your lower back), allow your knees to bend slightly as you push your hips behind you and slide your palms down the front of your thighs to your knees. Resist the urge to round your upper back. Keep your shoulder blades pulled down and back.
Pause, then push through your heels to reverse the motion and stand up tall with your hands back on your thighs. That’s one rep. Do two sets of 8 to 10 reps, resting 30 to 60 seconds in between sets.
Subscribe to our newsletter
It's quick and easy. You could be one of the 13 million people who are eligible.
Already a member? Click to discover our 15,000+ participating locations.
Follow Us
Make it harder: Secure light wrist weights on both arms, or hold a light weight in each hand.
Exercise #3: Band-Resisted Hip Hinge
This resistance-band variation makes your hips work harder during every rep —without requiring you to grip weights. That’s good news if you’re ready for more challenging glute work but have trouble with back or hand pain.
Do 2 sets of 8 to 10 reps
Attach a long, looped resistance band to a low anchor point, such as a couch leg or the bottom of a stair banister. Step into the loop created by the band. Facing away from the anchor point, place the band against the front of your hips, right where your hips crease to meet your thighs. Step forward until the band is very tight.
From here, push your hips back to lessen the resistance, allowing a slight bend in your knees as you do so. Pause, then press through your heels to return to standing. That’s one rep. Do two sets of 8 to 10 reps, resting 30 to 60 seconds in between sets.
Extend your arms out in front of you to provide a counterbalance, if needed.
Make it harder: Increase resistance by standing farther from the anchor point or using a “heavier” band.
Check Your SilverSneakers Eligibility Instantly
SilverSneakers members can go to thousands of gyms and fitness locations across the nation, plus take SilverSneakers LIVE online classes that are designed for seniors of all levels. If you have a Medicare plan, it may include SilverSneakers — at no additional cost. Check your eligibility instantly here.
Not eligible for SilverSneakers? You can still get 200+ free SilverSneakers On-Demand videos and stay in touch with us by creating an online account.


